Photos are of major significance to every type of blog. All post content is improved with the addition of some related imagery. WordPress makes it easy to add images directly into posts – but what about image galleries & slideshows?
Actually WordPress comes with default functionality to generate custom image galleries. This can be a powerful asset once you understand the interface. But there are also many free WordPress plugins devoted to creating a more advanced image slideshow.
This guide will cover the setup process for a handful of these plugins, along with the default WordPress gallery feature. This post will be useful to every blogger whether you’re new to WordPress or just want to learn more about creating image galleries through the dashboard.
Important Photo Gallery Traits
The modern field of web design has changed quite a bit since the early 2000s. Image galleries used to be static image links with thumbnail photos. Now galleries are more commonly built using JavaScript for inline image viewers.
This effect is typically called a lightbox where the image appears in a sample window on top of the page. Most image galleries are built to be responsive which means the width is fluid based on the size of the browser window.
Image gallery thumbnails are still a popular way of displaying previews of each image. But now WordPress can automatically crop thumbnails from the images uploaded to your media library. This way you don’t need to spend hours in Photoshop creating thumbnails.
It’s also worth mentioning the importance of image captions. These are just snippets of text which behave like labels for each image. Captions are prominently used for image galleries and slideshows to distinguish between different photos.
But captions are by no means required to create a wonderful gallery design.
The general premise would conclude that modern galleries are compatible. They support a wide array of browsers and even mobile devices which are Internet-accessible.
It does not matter whether you’re using the default WordPress gallery or a 3rd party plugin. Just make sure that your gallery looks great and works exactly as intend. It’s important to keep a uniform style across all galleries on your blog, so choose one method and stick with it for the long haul.
The Default WordPress Gallery
The WordPress CMS has a lot of great features which are perfect for new & advanced bloggers. Right out of the box you can find dozens of amazing features and tidbits of functionality in the WordPress dashboard. If you’re brand new to WordPress then take a look over this beginner’s guide which outlines all the important features and menus.
One subject that isn’t covered very often is the use of WordPress image galleries. This feature can be accessed right from the media uploader on any post or page. It’s super easy to put together images into a single gallery which creates thumbnails and displays content dynamically on the page.
Uploading Media
The first step to creating a WordPress image gallery is finding the post or page where the gallery should be placed.
It’s a good idea to write the content before adding the image gallery. This way you’ll know exactly where the images should appear in relation to the content.
So in the visual editor make room somewhere in the content to place your gallery. It’s best to clear a space between two paragraphs so that your cursor rests in an open block like this:
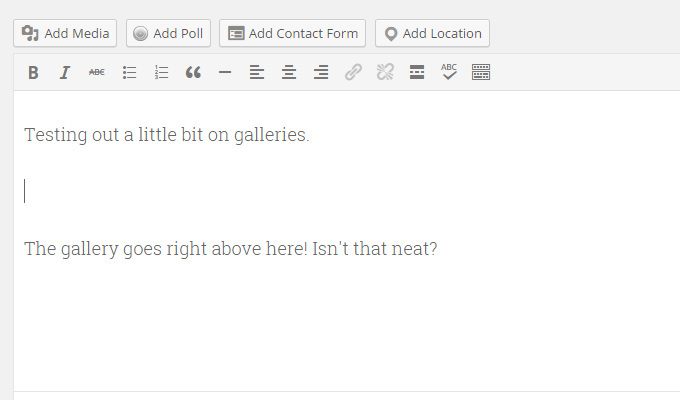
Next click the “Add Media” button located directly above the visual editor. This will open a new upload interface on top of your edit window.
Once the window opens look in the left-hand sidebar for a link labeled “Create Gallery”. You want to click this link and either start uploading or selecting images from your gallery.
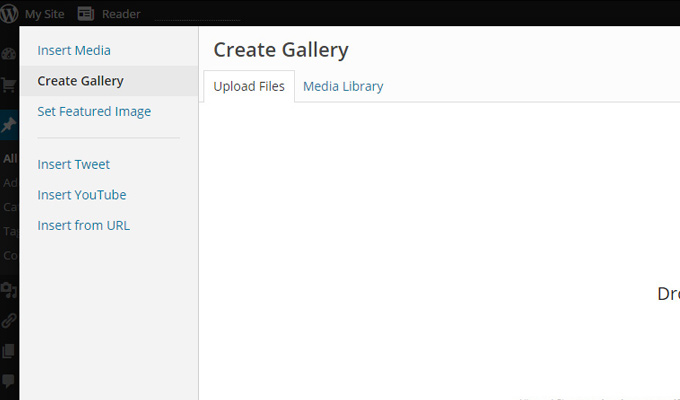
By default the media uploader will select regular uploaded media. This is how you can just upload media and place photos directly into a post. Using the “Create Gallery” feature allows for thumbnail generation along with the ability to add the full gallery right into your post or page.
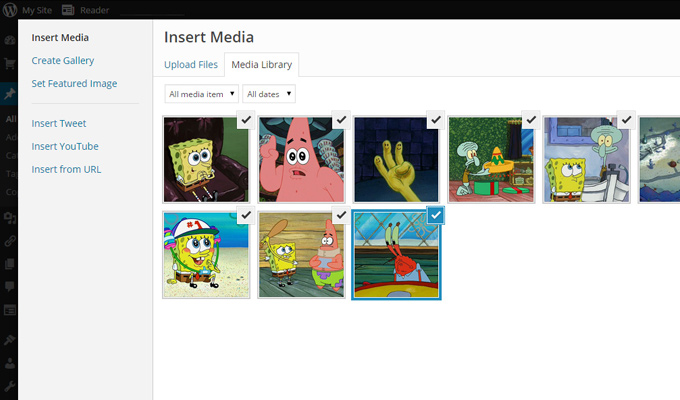
Note that once you’ve clicked the Gallery link there are two tabs at the top. By default you’ll be on the upload screen. But if you click the tab labeled “Media Library” you can select from existing photos as well.
Creating the Gallery
As you click to select each image thumbnail you’ll be adding new images into the gallery. If you want to remove a selection just click on the checkmark in the upper-right corner of the image thumbnail.
Notice that when selecting an image you have the option to customize the title, alt text, and caption. This info can be found to the sidebar while selecting your images for the gallery.
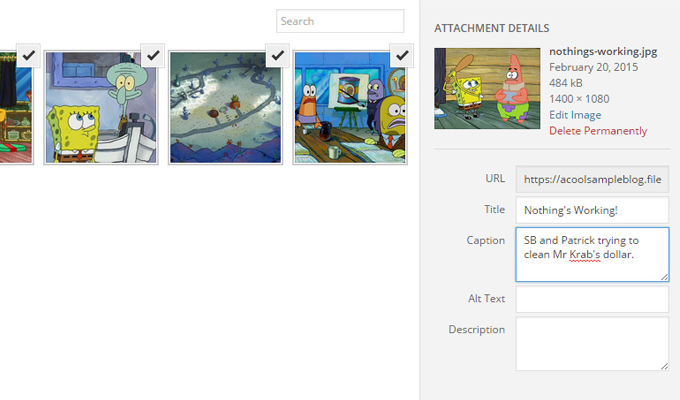
Keep in mind you do not need to add captions or change any of these settings. However it is advised that you at least create title/alt text because this extra info helps Google when indexing photos for image search.
Now once all of your images have been selected and customized you can click the blue “Create a New Gallery” button in the lower-right hand corner.
This new screen lists all of the selected gallery thumbnails with the option for you to add captions onto each photo. And if you want to remove a photo from the gallery just click the little X icon in the corner.
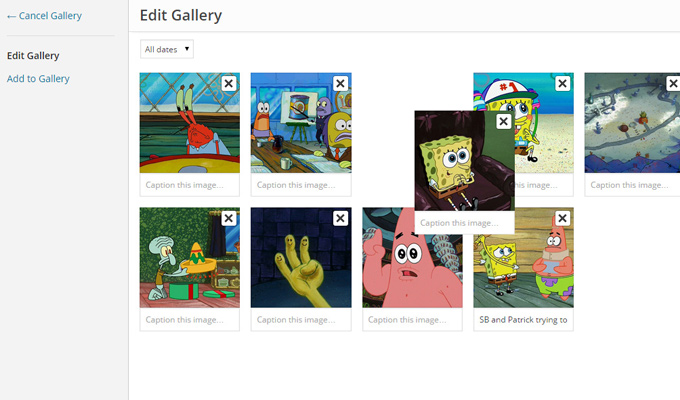
If you want to rearrange the photos you can do so by click & dragging them around. WordPress has a lot of draggable functionality and in this case it really comes in handy.
Before finishing the gallery take a look at the settings found in the right-hand sidebar. Most people want to link directly to the photo so it’s a good idea to change “Link To” so it reads Media File.
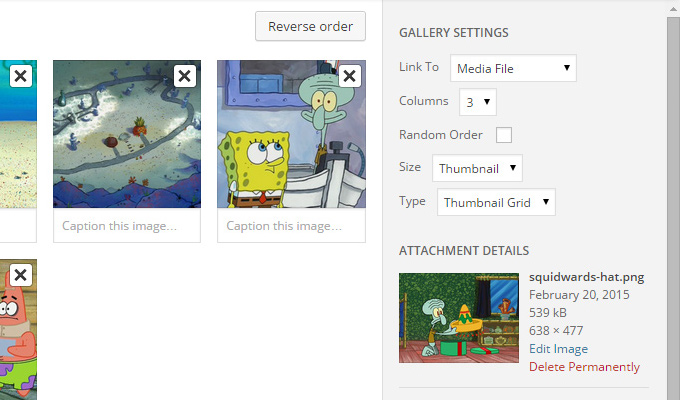
Then you can select how many gallery columns you want to use along with the thumbnail size and type of thumbnail. One of these types is a slideshow which behaves a little differently than a regular gallery. But you can always go back to edit these options if you want to change the gallery style afterwards.
So now just click the blue “Insert Gallery” button and it should appear in the editor. View changes by saving your post or clicking the “Preview Changes” button.
Final Changes
All of the images and thumbnails should work perfectly. If you click any thumbnail it will display the full-size photo in a gallery slideshow. WordPress has this feature built-in by default so it works the same on every single theme.
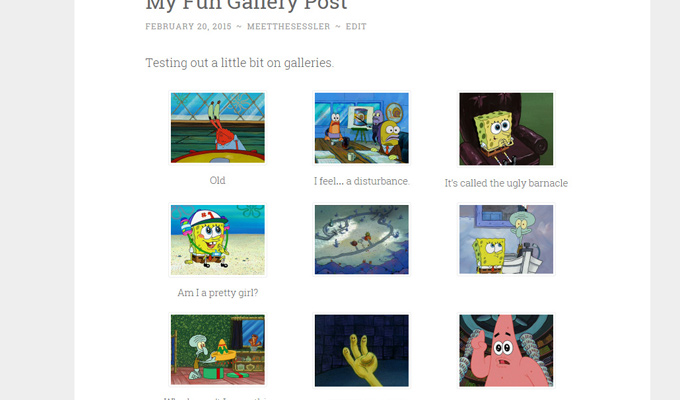
Also it’s super easy to go back and edit each gallery. Just go back to the edit post screen and in the visual editor click to select the gallery. You’ll notice two small icons appear on top.
![]()
The pencil icon brings up the same edit screen as before, while the X icon will completely remove the gallery.
By clicking the pencil you can change all of the settings, remove certain photos or even add new ones.
WordPress has an extremely versatile method for creating brilliant image gallery slideshows. This technique works on any theme by default and is styled to perfection.
But some users may prefer to stick with plugins because they have more designs, more features, and greater support for customization.
Free Plugin Alternatives
By itself WordPress is an incredibly powerful engine. But there are only so many features that can be added to a blog without support from 3rd party plugins.
Gallery plugins are the perfect solution for bloggers who need a more advanced interface. Additionally take a look at the recommended WP plugins list for some other ideas. New blogs can thrive by choosing the right plugins to create exactly what’s lacking in the WordPress dashboard.
Each of the following plugins are completely free and work great on any blog. If you’re having a difficult time choosing a gallery then you might try them all and see which one feels best.
Photo Gallery
The aptly-named Photo Gallery plugin does exactly what the name suggests. You can find it on the plugins page by clicking “Add New” at the top and searching for photo gallery.
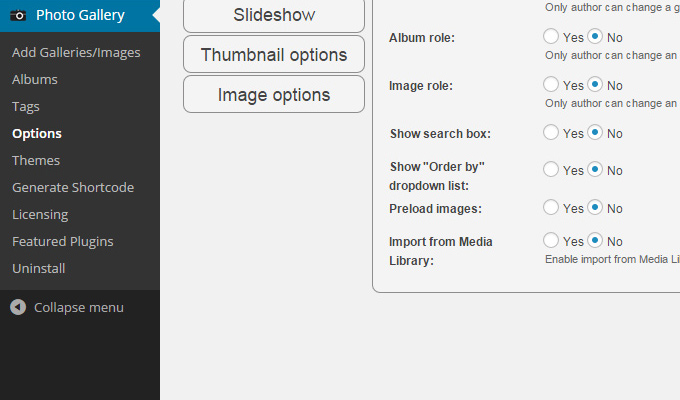
Once installed you get a neat little administration panel. You’re allowed to customize themes, tags, and even general options like image upload locations. There are so many options that it’d be impossible to cover them all in this post. So of your own volition feel free to check out some of the minutiae included with this plugin.
To create a new gallery click the Photo Gallery menu on the left-hand side. From here you can give it a name and manually add photos.
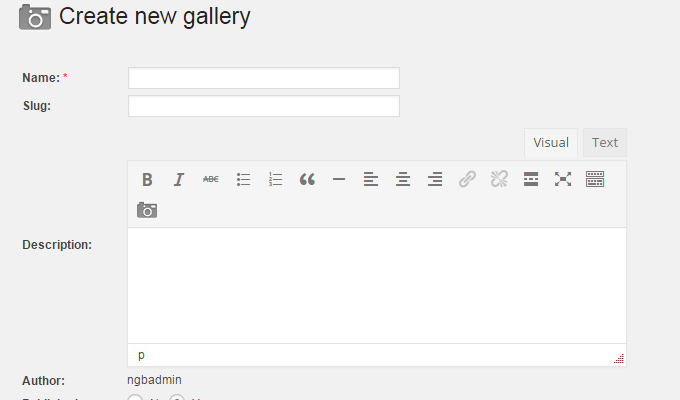
Unfortunately this plugin is limited in the sense that you first need to upload each photo directly through WordPress. This means it may not really be a whole lot better than just using the default WordPress style.
But this plugin does have a more organized menu for selecting, naming, and editing albums. Depends if you like the interface or if you prefer the default WordPress editor instead.
Now when it’s time to add a new gallery into your post look for the camera icon located in the visual post editor.
![]()
In this new window you can select from a couple different views. The free version is limited to the basics like thumbnails, slideshow, and image browser. Feel free to test them all out and see if any look good.
NextGEN Gallery
Among the variety of choices NextGEN Gallery is one of the highest-rated free gallery plugins. It has all kinds of extra features like uploading batch images, importing metadata, and customizing post thumbnails manually.
This plugin may be a little easier to handle because there aren’t too many extra settings. Once you activate NextGEn gallery a green square icon will appear in the visual editor.
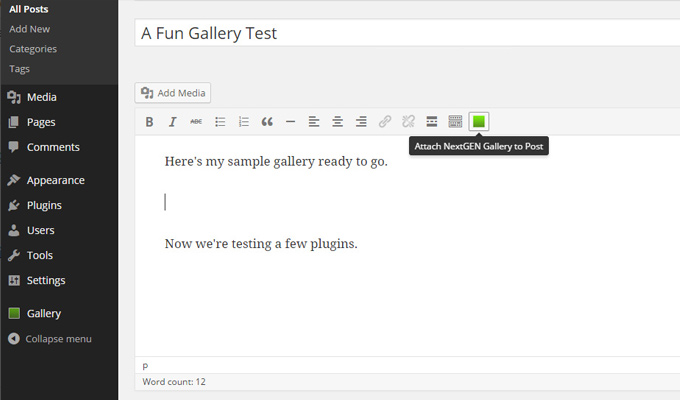
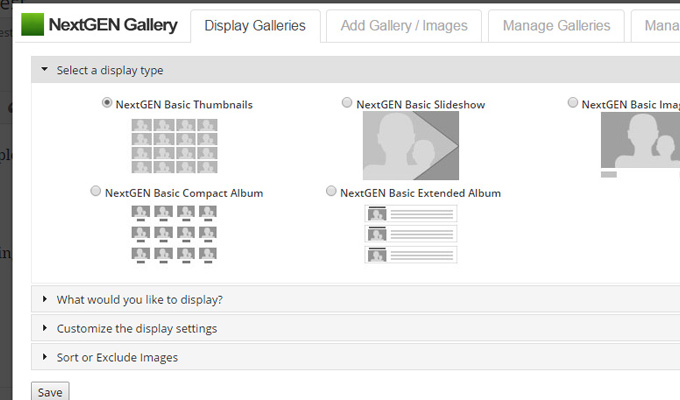
From the “Add Gallery/Images” tab you can create a brand new gallery. Give it a name and then browse your computer for images. Once you’ve selected everything click the start upload button.
It’ll take a minute for the photos to upload but once they’re complete you can go back to the Display tab and choose which gallery style to use. The different accordion menus contain information about your gallery slideshow like the total number of thumbnails and how to display them on the page.
By clicking “Save” it will add this current gallery into your post or page. It will appear as a single thumbnail in your visual post editor.
Click on the thumbnail to add/remove photos or to change album settings.
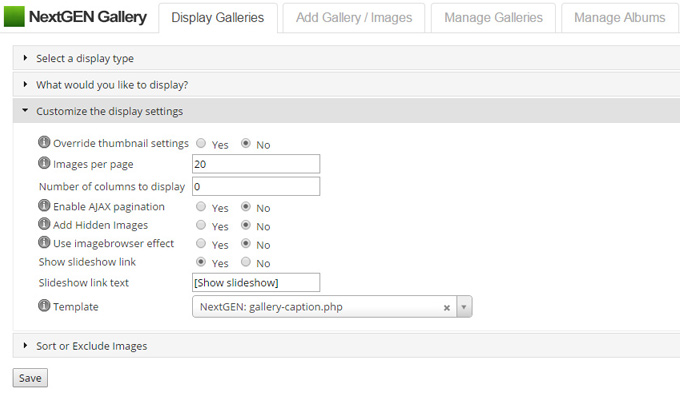
You can also update photo captions by going back to the gallery page and editing a specific gallery. NextGEN has a lot of settings but they’re all included in this one menu.
For a generic photo gallery this may be a little too complicated. But for a free plugin it’s simply fantastic and well worth learning if you need a slightly more advanced lightbox design.
Gmedia Gallery
Next is the Grand Media Gallery plugin which supports more than just photos. You can build an entire multimedia gallery which also features music and videos.
There’s no getting around the fact that Gmedia is complex. The settings menu is detailed and requires time and patience. This is because it has such a wide variety of features that aren’t targeted at the average blogger.
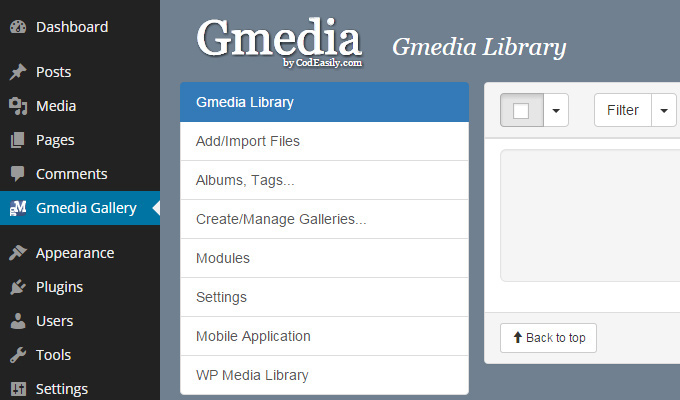
In order to create a gallery first install the plugin and visit the settings menu. Click on “Create/Manage Galleries…” to add a new one.
This page will offer a list of skins which are supported in the free version. You can choose from general music, video, or photo skins.
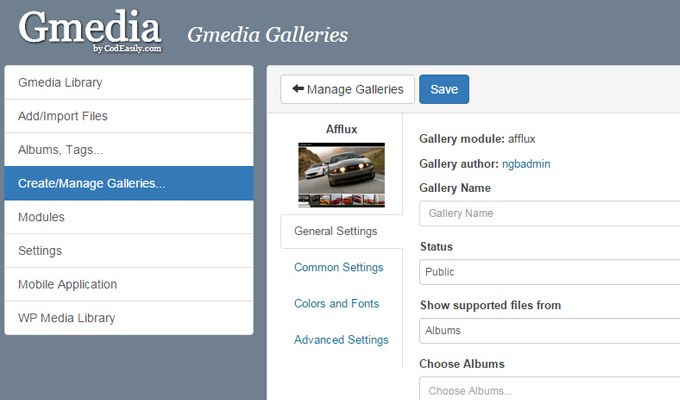
Once selected you can then customize the gallery to include photos from certain albums, photos using certain tags, or selected manually. It’s also possible to customize the gallery colors either using the custom settings or CSS code.
Images should be uploaded via “Add/Import Files” or from the bottom link which pulls media directly from WordPress.
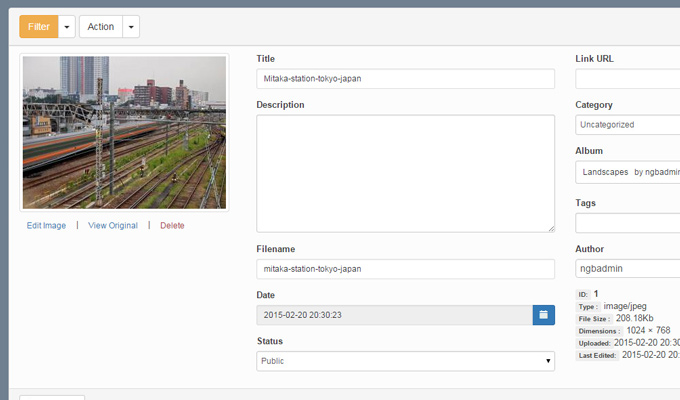
New uploads can be edited to include categories, tags, or be placed into specific albums. Plus you can even edit the image quality based on features like brightness, saturation, or exposure.
Obviously it would be better to use a program like Photoshop but for a free image gallery plugin Gmedia is beyond fantastic.
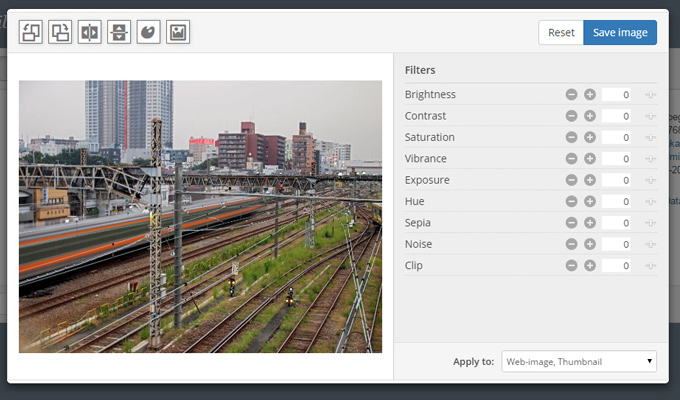
If you’re looking for an image gallery that supports high-end functionality then be sure to check out Gmedia. For advanced WordPress users this is by far the greatest image/media gallery plugin. You’ll find every little feature you could ever want and a whole lot more – all for free!
Huge-IT Gallery
Finally the last plugin for this post is Huge-IT Image Gallery. It’s a free plugin which has fully-responsive gallery themes along with all the custom options you’d expect.
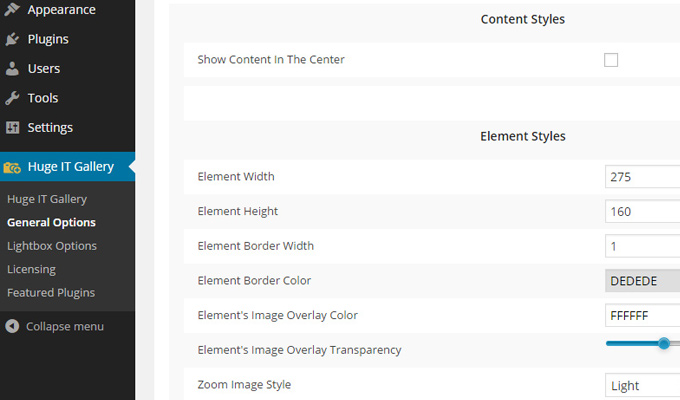
Huge-IT Gallery comes with a built-in settings menu just like all of the other plugins. You can build new galleries from the create gallery link in the settings menu. Just upload a few images or select photos in the WordPress media library.
From here you can give them titles and descriptions which are used in the gallery. Also notice in the sidebar you have the option to include this gallery into any post or page manually.
Huge-IT offers WordPress shortcodes which can be added directly into a post/page text editor. Or you can copy the PHP shortcode if you know how to edit theme files(not recommended).
The alternative is to just create a gallery of photos and save changes. Then go back and edit one of your posts to find the “Add Gallery” button with the golden camera icon.
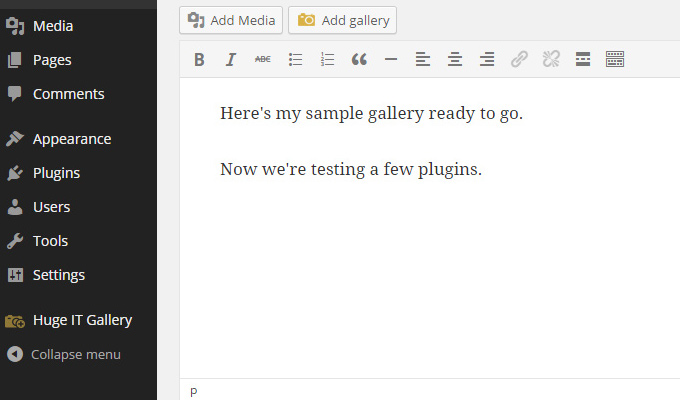
Click this for a new window containing a dropdown menu with your available galleries. Choose the one you want and then click “Insert Gallery”.
The WordPress shortcode will be added directly into your content without needing to copy/paste from the plugin settings. Now if you save changes the gallery should work great with a lightbox and thumbnails.
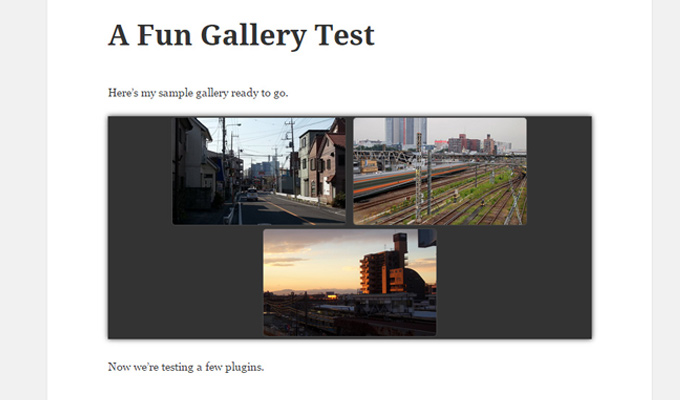
Huge-IT is a wonderful plugin for users who want a little bit more functionality, but don’t need the overly-complicated features of Gmedia.
If you need something a little more comprehensive than WordPress’ default gallery check out Huge-IT. This may not be the right choice for everyone but it certainly has a clean interface and the supportive features to go with it.
Which Should You Use?
Truthfully there is no right or wrong answer. If the default WordPress gallery works for your blog then stick to that. It’s a whole lot easier to manage, plus you won’t be as worried about updating and customizing plugin features.
But if you feel the default WordPress gallery is too constricting then by all means install a custom plugin. Most developers create these plugins to fulfill their own needs which haven’t been met via WordPress. So anyone who’s familiar with WordPress and needs more advanced functionality should definitely feel comfortable moving onto custom plugins.
Try out the default WP gallery and see if you like it. WordPress is always upgrading features and their gallery has come a long way in the past few years.
Ultimately the best solution is whatever fits best on your blog. Most of the time WordPress’ default functionality is just easier and simpler to learn. Since it also provides an outstanding frontend experience, most new bloggers will feel safer using the default WordPress gallery as their primary tool for generating image slideshows.

