When creating a new blog the setup process can be the most arduous stage. Thankfully WordPress is a great choice for bloggers because it offers an easy setup process with lots of features.
The biggest decision is choosing a reliable web hosting provider. This guide will cover the WordPress setup process using Bluehost.
Whether you’re new or even experienced with blogging, Bluehost is a fantastic choice because of its price and extra features. WordPress users actually get a completely free domain when signing up for a blog hosting account through Bluehost. So without further ado let’s jump right into the setup process.
Step 1: Register a New Account
First visit the exclusive WordPress offer page on Bluehost’s website. This includes a great deal for cheap hosting and your own free domain name to go along with it.
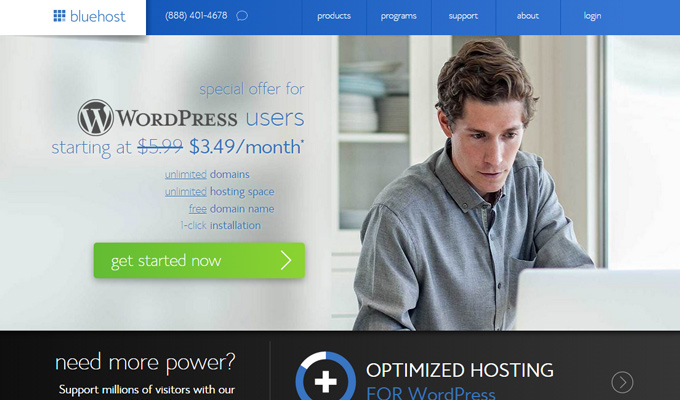
Click the “get started” button and on the next page you’ll be asked to select a plan. The Starter plan is enough for most new blogs and it’s very affordable, so that’s highly recommended. Once you select a plan the next page will ask for a domain name.
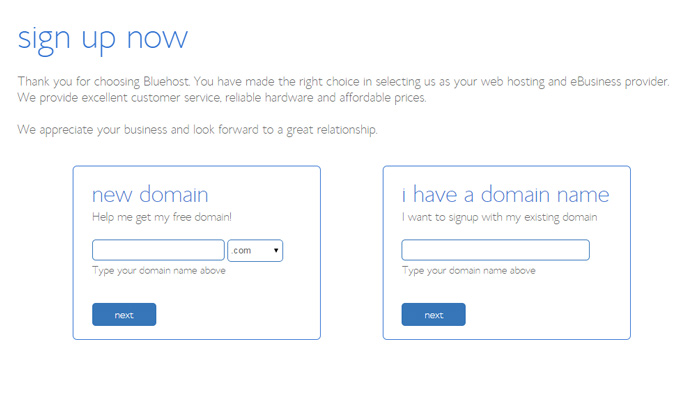
If you’ve already purchased a domain you can enter this into the “I have a domain” box. If not then you can register a brand new domain for free. It’s recommended that you use a .com domain since these are the easiest to remember.
But you may go with an alternative like .net or .co which are both offered free for one year through Bluehost.
If you’re having trouble finding a domain use a custom search tool like InstantName. As you type a new domain name it’ll do a search to check if the domain has already been registered. If so, it will offer similar domains that you might choose instead.
Once you’ve picked a great domain Bluehost will double-check that it’s available. If so then you’ll move onto the final registration step. Here you’ll be asked to fill out some account information related to billing and the hosting package itself.
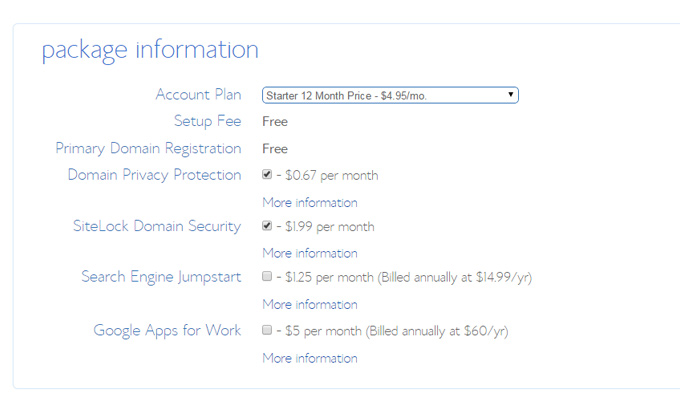
By default the package will autoselect 36 months, or 3 years’ worth of payments in one bulk fee. This will save you money but may not be the best solution. It’s recommended that you select the 12 month billing cycle which charges you a fee once per year. Prices don’t fluctuate a whole lot so select whichever billing cycle is easiest for you.
Once you submit this billing information your account should be created. Your new username and password will be emailed to you along with a confirmation of the purchase.
Be sure to keep this username/password combo handy because you’ll need it to access your server information.
Step 2: WordPress Quick Install
If you want to just get up and running quickly then you might choose Bluehosts’ auto-install feature. This allows you to install any number of different scripts with the click of a button.
Most of these scripts require a custom database which can take much more time going the manual installation route.
But if you want to skip that process, Bluehost can setup all this stuff automatically. For those who would rather follow the manual installation process just skip down to the next step.
Otherwise you’ll want to log into your Bluehost control panel with the username/password sent to you via email. This will bring you to your personal cPanel account. cPanel is just a control panel for server environments. You’ll find dozens of tools for controlling users, FTP access, and database management.
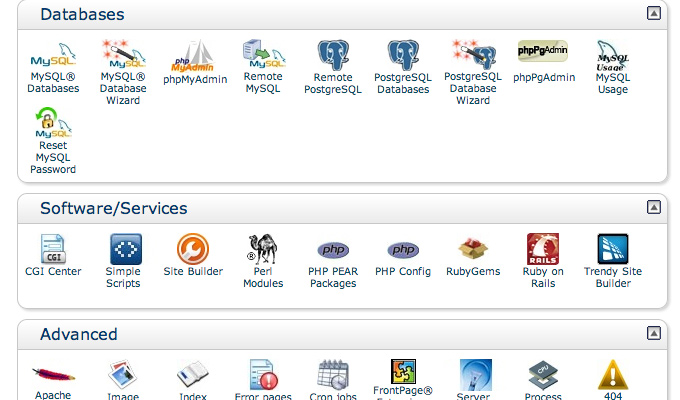
Scroll down until you find the section labeled Software/Services. The very first link in this box will be called “Simple Scripts” with a square blue icon. Click this link to be taken to the simple scripts installation page.
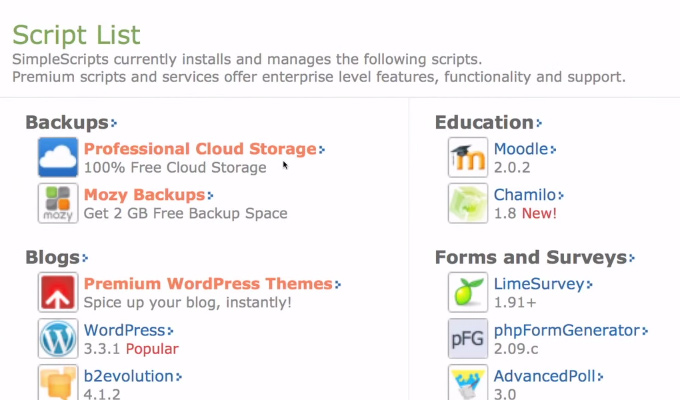
On this page you’ll find loads of custom scripts which you can install for free. The installation process is automated so you don’t get to choose your administrator username or password. Some users do not like this, which is why you may choose to do the manual installation method. Otherwise Simple Scripts is a great way to get WordPress running within minutes.
So just find WordPress located underneath the “Blogs” Script category. Click this link and the next page will have a big green “Install” button.
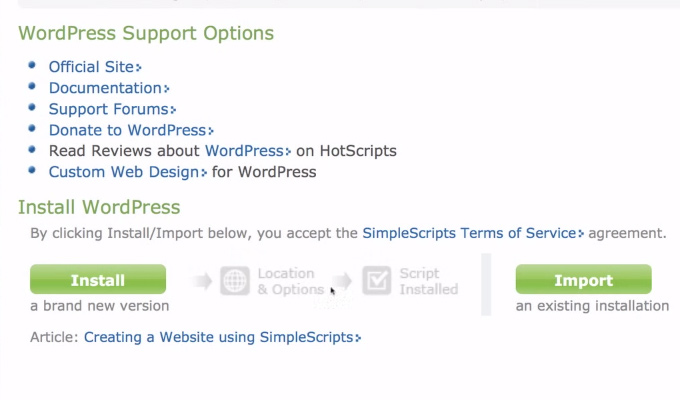
Click install and then select the domain where you’d like to have WordPress located. If you just got a new hosting account you should only have one domain to choose from. Then you can also choose to have a few plugins and themes pre-installed – but these aren’t necessary.
So then at the bottom click “Complete” and let the installer do its thing. This will automatically create a new database for your website, install a new version of WordPress, then create an administrator account for you.
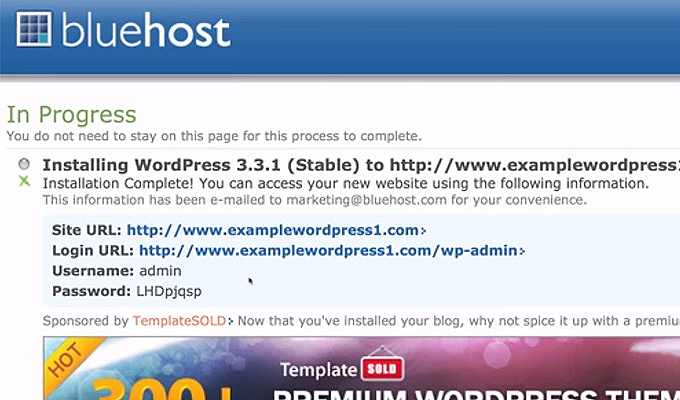
Once it’s all set you’ll be presented with some login info. Be sure to keep that written down or saved somewhere that you can access later. You’ll need this account to log into the WordPress admin dashboard.
You’ll also notice one of the presented links is called a “Login URL”. Click this link to be taken to the login page for your new WordPress blog. Here you should enter your admin username/password info and you’ll be taken right into the dashboard.
Now you’re all set to start blogging!
Step 3: WordPress Manual Install(optional)
The manual installation method requires a bit more work, however you are given more control over the setup process. You can choose any username/password for the administrator account and manually select more specific info like the website title.
Take a quick visit over to the WordPress download page and grab the latest copy of the CMS. This will be downloaded as a .zip archive so you’ll need to unzip it into a folder. Both Windows and Mac computers should be able to do this automatically.
For Windows just right-click and select “extract archive”. Mac users should be able to just double-click to extract. If you’re having trouble with the .zip file just grab a free program like 7-Zip which is dedicated to unzipping multiple filetypes.
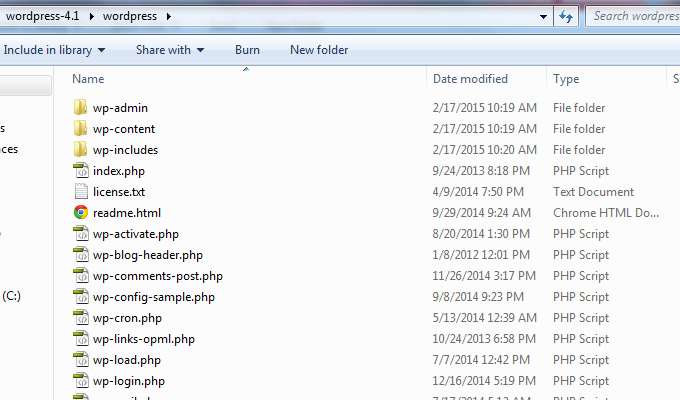
Once unzipped you should find an internal folder simply named “wordpress”. Inside this folder you’ll find a bunch of files along with a couple other folders with the naming format of wp-something.
All of this content needs to be uploaded directly to your web server. But first you’ll need to setup a new database to contain the WordPress installation.
Step 4: WordPress Manual Database(optional)
Now log into your Bluehost account with the username/password which was emailed to you. This will take you to a cPanel page which is the main control panel for your web server.
From here you can gather lots of information about traffic and server setup, along with editable settings like FTP accounts. We want to create a new database and database user which will hold your new WordPress website.
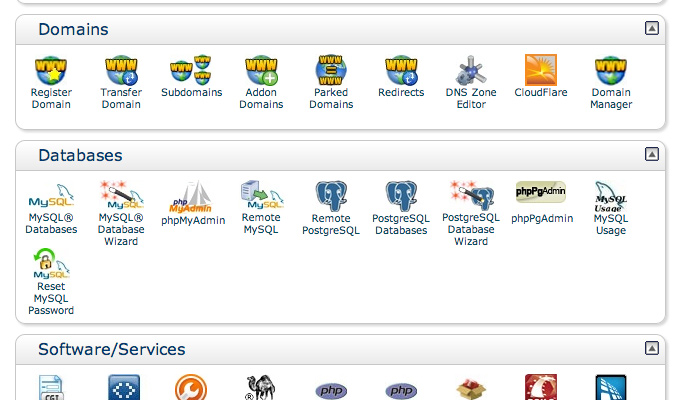
Scroll down through cPanel until you find a box labeled Databases. The very first link has the text “MySQL Databases” where you can setup a new database. Click this and on the next page you’ll see a lot of forms.
This step will have 3 important bits of data: The (1)database name, (2)database username, and the (3)password. You’ll want to have all this information saved or written somewhere temporarily. It will only be needed once during the WordPress setup and you do not need to memorize it. But this info is required to get WordPress working.
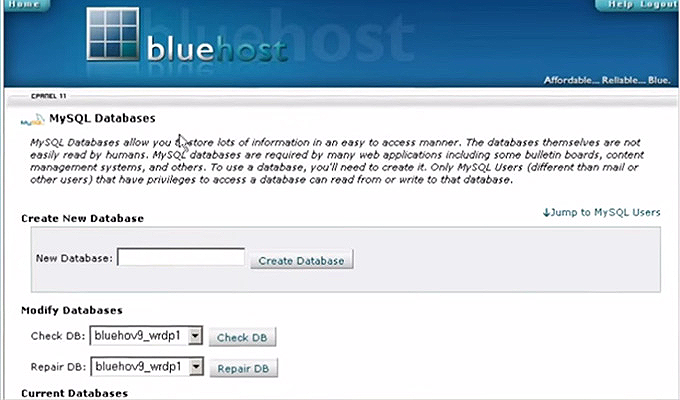
So first create a database name. It can be anything you want since it will not affect the website or be visible to users. Bluehost should force a prefix onto the database name using your account username. So the final name would have a format like bluehostname_wordpress. Keep this stored in an empty notepad document or write it down on scrap paper.
Once you’ve created the database you’ll find another form lower on the page. This is where you setup a new username/password specifically tied into the database. Again you can choose any username or password that you’d like – you won’t need this information after WordPress has been setup.
Bluehost may even have a setting where it’ll auto-generate a secure password for the account. In any event create the username/password and hit “Create User”.
The next page will confirm your account with the username/password just so you can double-check that the credentials are correct.
Now back onto the same database page scroll all the way down to the bottom. You’ll find a couple dropdown menus with the title “Add User to Database”. From the top menu select your database user, then in the bottom select your database. Click “Add” and on the next page you’ll be asked about permissions.
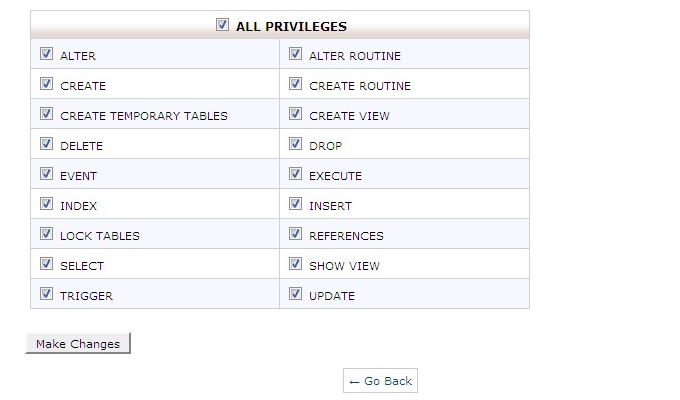
The very top checkbox reads “All Privileges” which will automatically select every checkbox. You’ll need to ensure that all privileges are checked because the database account needs full access. Click the submit button and you should get a confirmation that the user has been added to the database.
At this point we’re all ready for the final process of the manual setup.
Step 5: Finishing Manual WordPress(optional)
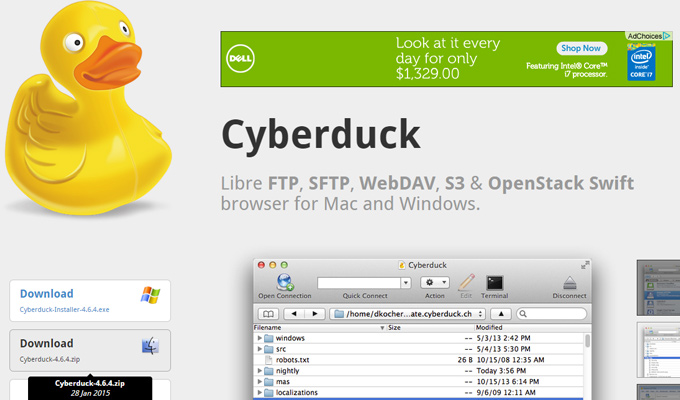
To get the WordPress files from your desktop onto your server requires software called an FTP program. There are plenty of free programs available for both Mac and Windows users. FileZilla is great for all versions of Windows and Cyberduck works for either operating system.
FTP details are almost universal among web hosting providers. You’ll need the server name, FTP username, and password. For Bluehost you just use the same username/password as your regular login. The server name is your domain with the prefix ftp. So your connection details should look something like this:
- Hostname: ftp.yourdomain.com
- Username: Your Bluehost Username
- Password: Your Bluehost Password
- Port: 21
All common FTP connections are made on port 21. If you can’t get this to work then double-check the Bluehost signup email to see if it mentions anything about an FTP account.
Otherwise you can always check cPanel or contact the Bluehost support staff directly.
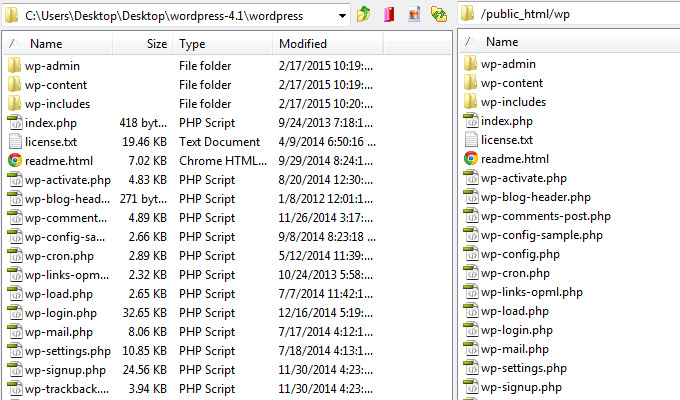
Once you’re connected into the server you’ll want to browse to the empty directory for your domain. Most servers have a folder named public_html which contains your empty website. If there are any files inside you can just delete them. Otherwise if you don’t see public_html or www then your FTP server is connected right into your website’s root folder.
Now in the other window browse your computer for the WordPress files. Upload everything directly to the server including the wp- folders. This may take a couple of minutes so just be patient while the files transfer.
When everything is done you should be able to open your web browser and go right to your domain name. The WordPress setup process should begin asking for your database info.
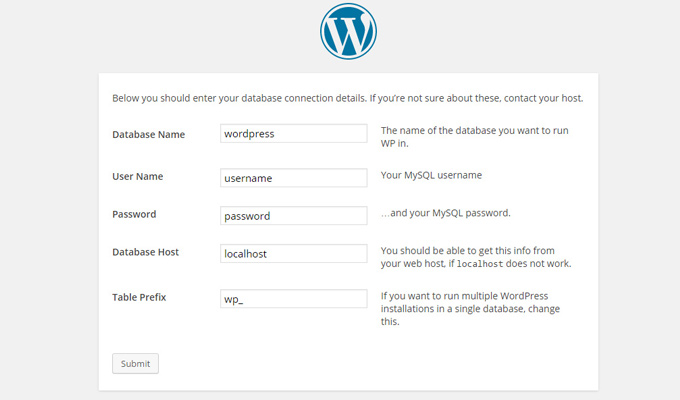
Enter the database name, username, and password which you saved from earlier. The database host and table prefix are fine so you can leave those as-is.
Hit Submit and the next page should have a message confirming that the database is connected.
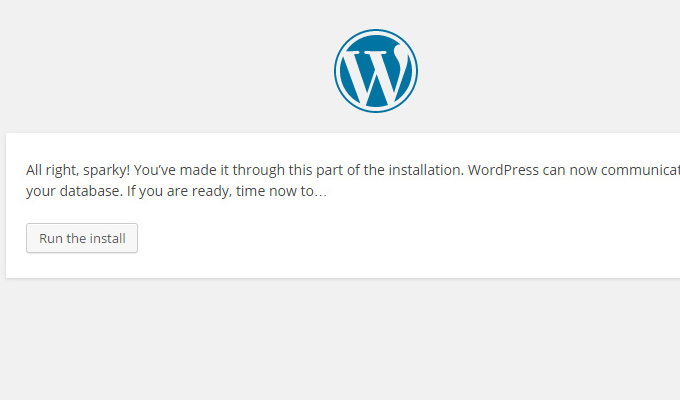
After this stage you’ll move onto the WordPress installer. It’s a very quick process and only needs a little bit of information.
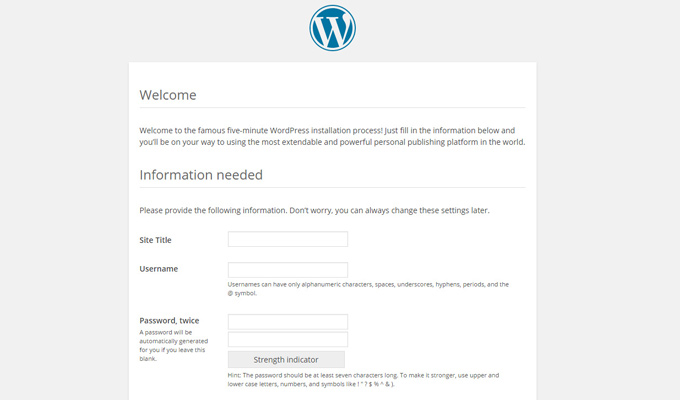
Give your blog a title and create a username for your account. The title can always be changed at a later date, but the username cannot. However it is possible to create another administrator with a different username. But try to pick a name that you’ll remember and will continue to use in the future.
Then enter a password that you’ll also remember. This password is worth memorizing because you’ll need it every time you log into WordPress. Finally select an email address for this account.
You’ll want to use a real address because in the event you forget your password, the reset email is sent to this address. Then just leave the search engines index option checked and click “Install WordPress”.
If everything goes smoothly you should get a confirmation of your new WordPress account username & password. Then just click “Log In” and you’ll be taken directly to the WordPress login form where you can access the admin dashboard.
Once you’re logged into the dashboard the fun can really begin. Now you can add themes, configure plugins, or start writing new blog posts for your brand new WordPress site on Bluehost.